In one of my previous articles, I wrote about yeast trapping, isolating wild yeasts from the natural environment to brew your beer. In the article, I also mentioned a few places where you can find yeasts and how you could go about isolating them.
Although I am a scientist, and we like to talk in hypothetical terms, we can only put meat on our claims by experimentation. This is what this article below is about. Experimentation. Here, I will describe the way by which I am conducting a yeast trapping experiment. The aim is to isolate yeast from the environment and put it to work in my humble Nano-brewery at home. I use common brewing equipment and household items throughout this experiment. I supplemented this kit with make-shift laboratory equipment and reagents available to all of you. I hope to repeat sampling throughout the spring, summer and fall season. But without further ado, please find below my notes.
Experiment aim: Trap and isolate yeast strains from the flowers of common garden plants and trees
Date: April 23rd, 2020
Location: My and my neighbours’ little garden in Scotland.
Preparation:
I made a simple 1L starter solution. For this, I dissolved 117g DME in boiling water and cooked it for one hour in a pan. I added in some spare hops that I had (10 grams, 60-minute boil) to help slow down the growth of any bacterial contaminants that will be on my samples. In the meantime, I sterilised 5 jam jars. After I completed the boil, I poured the starter into the pots (about 200 mL each), closed the lid and let it cool off. (Note: Unfortunately, a lot of solids came along when I poured it).

Sample Jars with flowers from trees and garden plants. The last jar is open for the purpose of air sampling.
After my wort had cooled, I started sampling. I harvested various flowers (two from different trees, two from separate shrubs) and sampled the air for 4 hours (removing the lid from the jar). While picking the flowers, we (I was assisted by my 4 and 6-year old daughters) took care to clean our hands and avoid touching the flowers as much as we could. We placed the flowers into the jars and closed them immediately to reduce air contamination. I placed my jars in the dark at room temperature (20oC) to allow growth to happen.

Checking out my samples for yeast activity (April 30th)
Date: April 30th, 2020.
I rigorously checked my jars for the first time. There were no obvious signs of yeast growth, but in some (three) vessels I could make out the distinct smell of alcohol. One jar had a distinct acidic smell and for one (the air sample) nothing had happened. I use the air sample as a nice control (something to compare your other samples to) to detect any changes that you can attribute to the microbes we have captured in the flowers. I use negative controls rigorously (not inoculated or exposed to air at all) to ensure that growth I observe (not to mention, the smells) are due to the sampling.

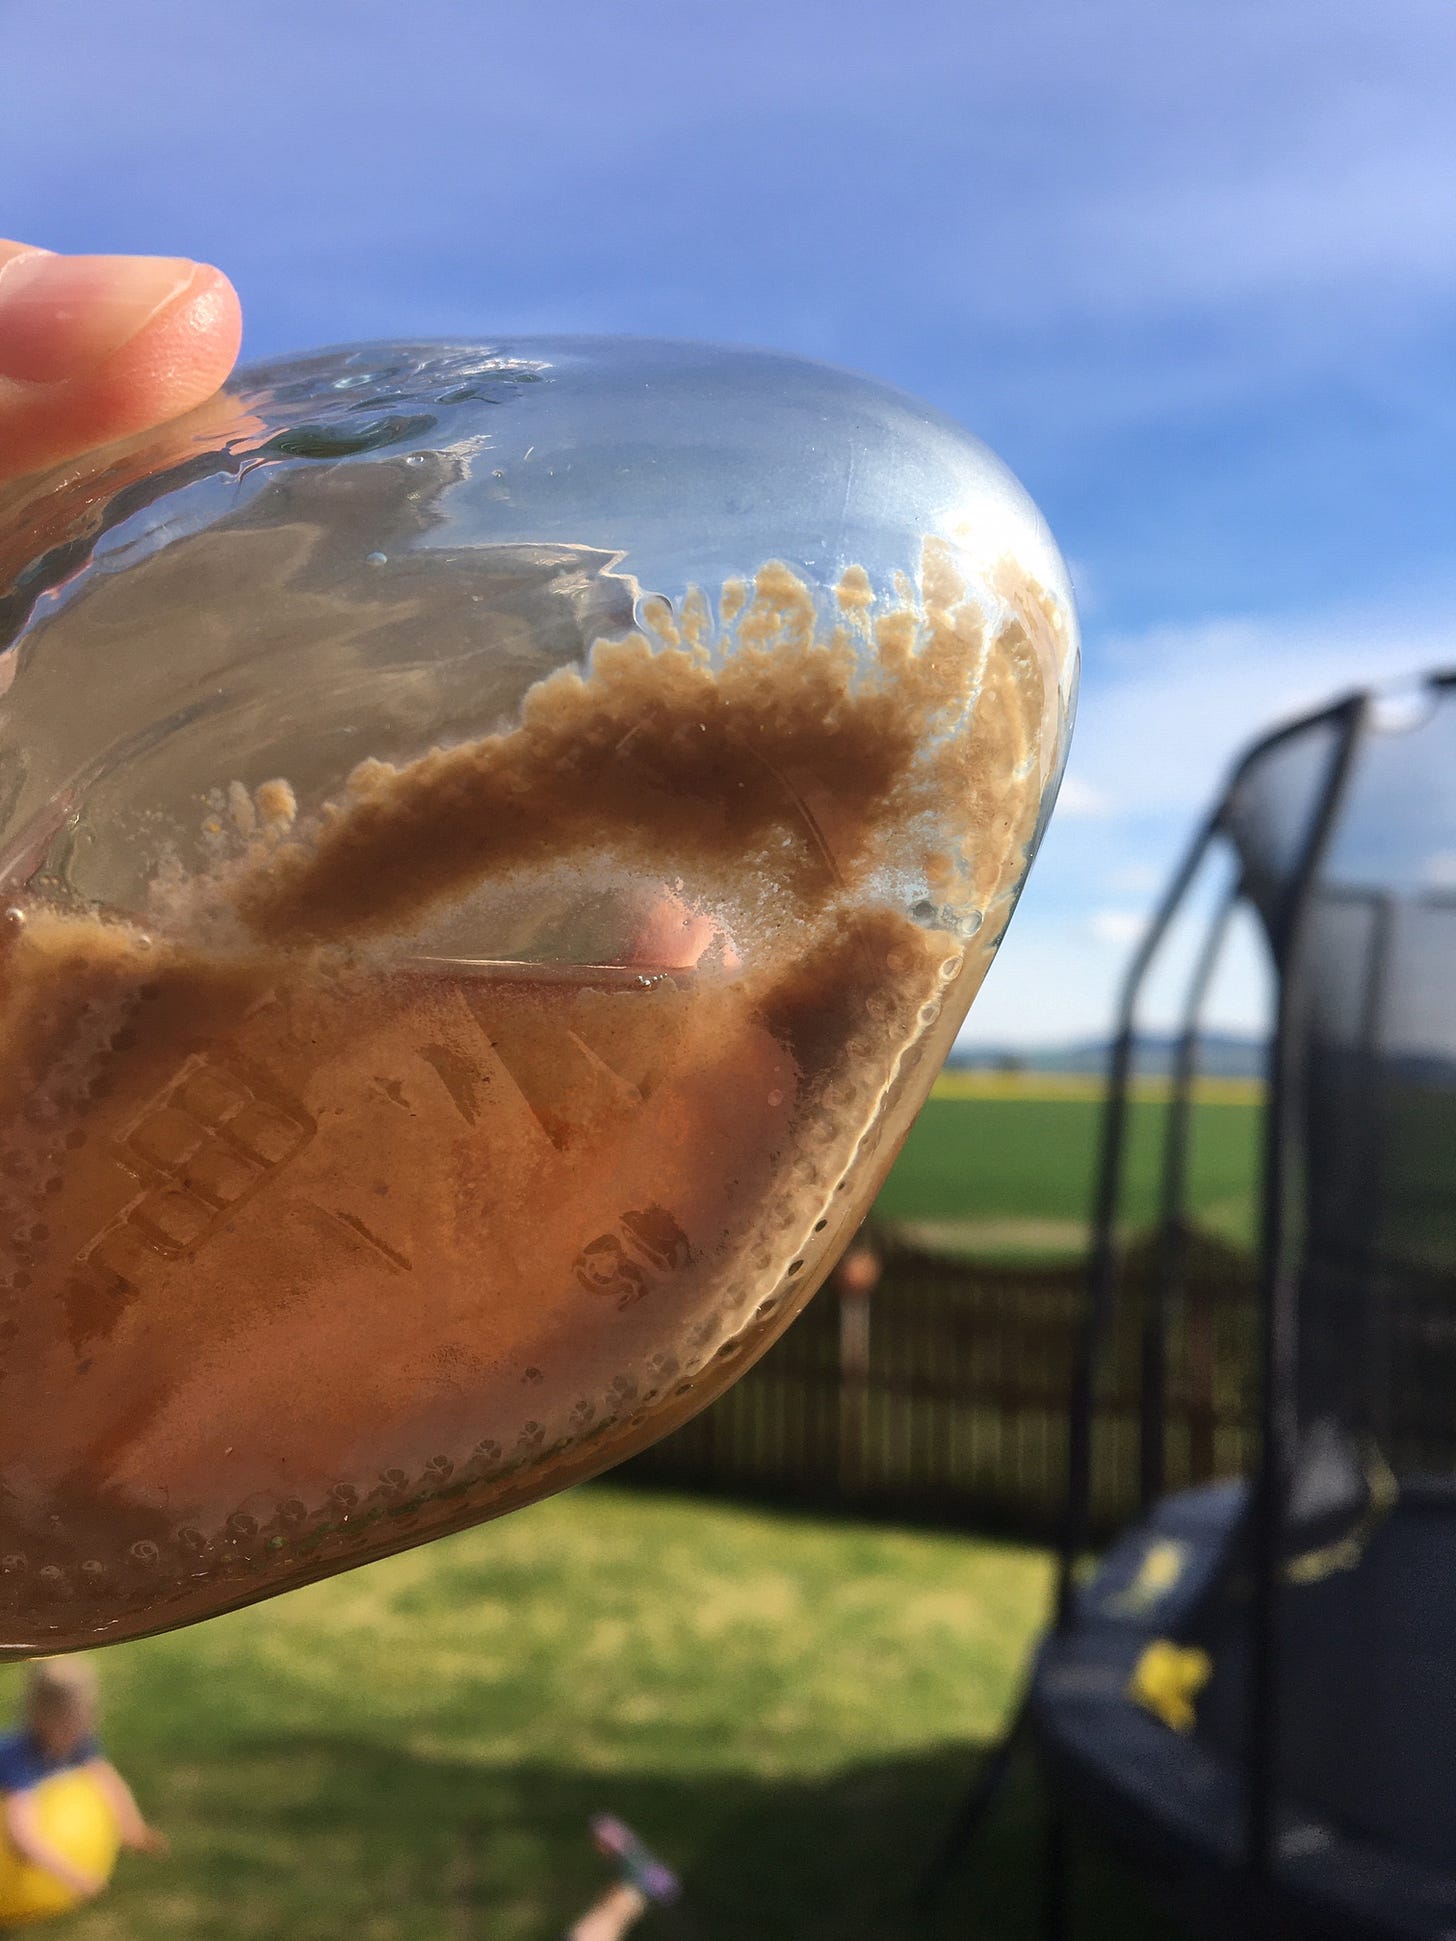
One of my sample jars that has a yeast-like pellet
Date May 6th, 2020.
Whatever is growing in the jars has prospered. Slightly decanting the liquid reveals a lovely thick slurry at the bottom of three of the jars - the same ones that gave a distinct alcoholic smell. The liquid that smelled acidic (dandelion flowers) also has a slurry, but it appears to be less sticky in appearance. It probably is a yeast, but a distinct type altogether? I design this experiment to discover the yeast that is growing in local flowers. Therefore, I will move forward with all the flower-derived isolates. The air sample has turned into a mouldy mess. It smells bad and there is no evidence of a pallet to work with. I discarded this sample. Air sampling is out.

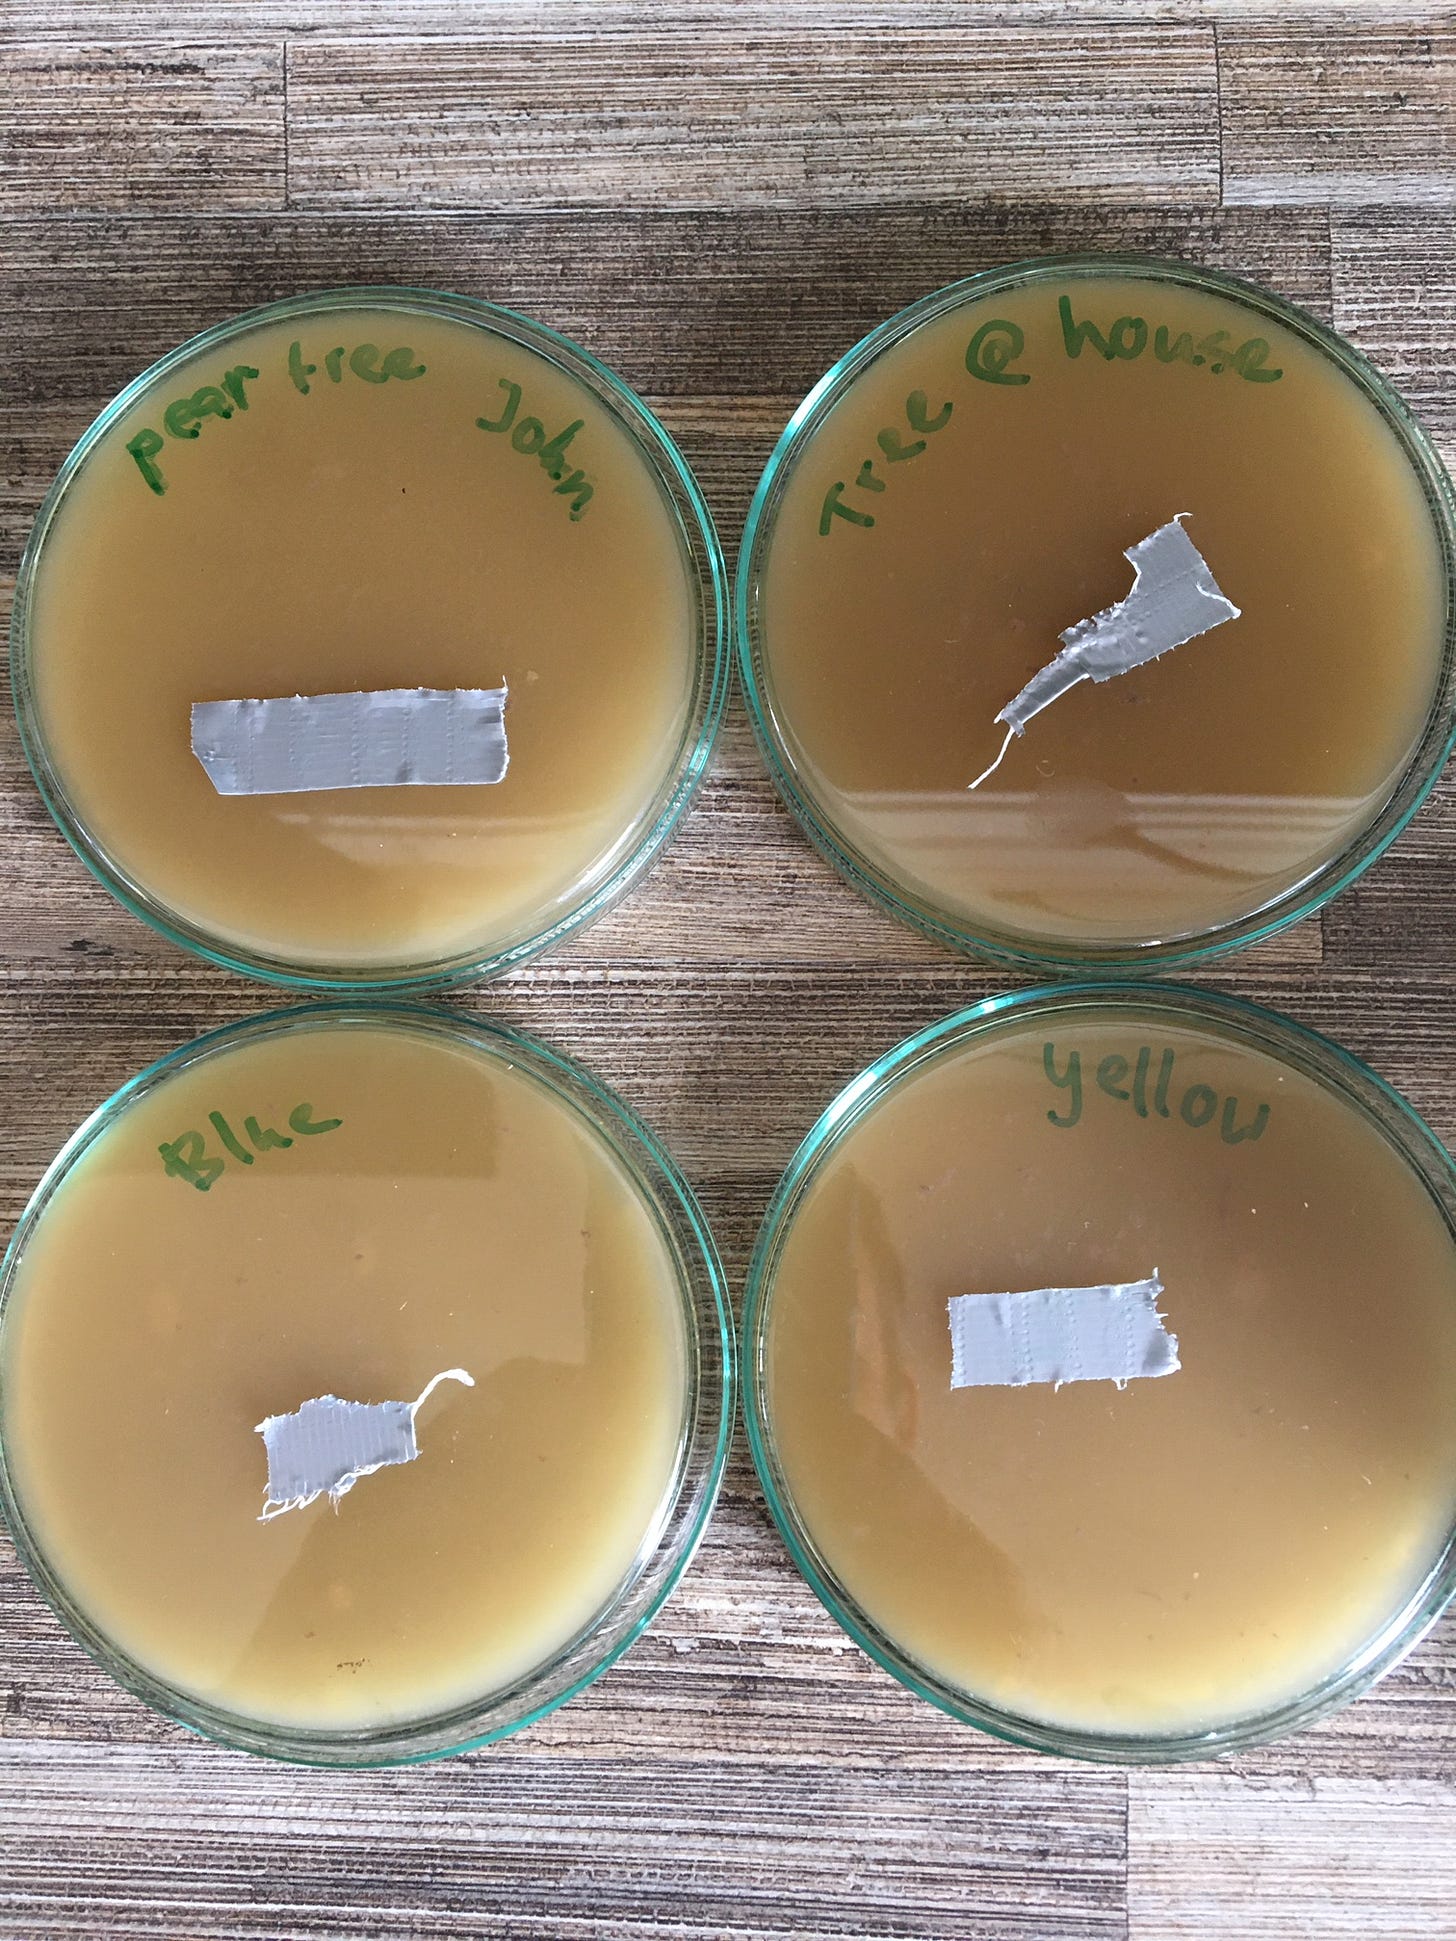
My plates after streaking out some of my liquid samples on May 7th, 2020.
Date: May 7th, 2020
I had ordered six glass petri dishes, some agar, and Dried Malt Extract (DME). I use the DME to make a starter (SG 1.037) by adding 117 g DME to 1L of water, boil it, add agar to the wort (around 1.5% w/v) and pour them into six sterilised plates. I let the malt-agar set and cool down to room temperature before I take a straw, stick it in boiling water to sterilise, and stick it in the sample jar, taking care to get some yeast pellet at the bottom of each sample. I streak the suspension onto the plate, sterilise the straw, and streak the plate again to dilute each sample and get single colonies. I repeat this four times (one plate per sample) and let the malt-agar plate sit at room temperature in the dark (inverting the plate with the agar side up). Hopefully, the yeast will grow onto the plates such that I can pick single colonies for further testing.

Plates after incubation at room temperature for 48 hours (May 9th, 2020). Streaks and specks are microbes growing to high density. Colour is consistent with the presence of yeast (as is the smell!)
Date: May 9th, 2020
Growth! Initial visual inspections already showed some growth after one day, but two days after streaking out my samples onto solid media, you can see that there is growth on my plates. Every single plate appears to have yeast-like growth except for one sample that shows some filamentous (hairy growth). It is not very clear on the picture, but it is there (plate on the bottom right). Based on these results, I will pick a few individual colonies (one from each plate) and streak them out onto separate plates (I have two left) to finish isolation and begin further testing. The timeline for these experiments are:
- Re-streak colonies
- Assess the purity of my recent streaks and pick individual colonies for liquid cultures
- Test whether individual yeast strains can convert sugar to alcohol
- Assess whether those yeast strains that can produce alcohol, can make (decent) beer.
Stay tuned for the latest news on this and other future #LockdownScience brew experiments.
If you enjoyed this post and wish to support my LockdownScience project, consider subscribing to my newsletter (with a 50% discount).

